eylet Support
eylet support and help video guides provide quick answers to frequently asked questions.
Follow these simple steps to get started.
- Signup on eylet.com/login
- Go through the startup guide tips, reading each one will quickly explain the different sections of the eylet app.
- Type in your Name in the Name field, and bio in the Bio field.
- Choose a picture by tapping the Pencil icon on the round profile icon or the Pencil icon on the rectangle banner.
- To add content such as email, Phone, website and social networks, tap the “Add Profile and Content” button.
The eylet app is for individuals and teams, has detailed insight, themes and many more features.
The main app has 4 sections.
- A top left Main menu where you can access all app features.
- The “Edit Content” main page which loads when you login, allows you access to update your digital profile.
- A bottom menu that has quick access to most common app features like Share QR code, Contact, Quick Switch and Multiple Profiles.
- Lastly the top right has a video icon to short how to video guides.
Adding images to your profile is quick and easy. There are two images you can upload a Profile image and a Banner image.
Depending on your theme you can disable the banner image and show just the profile image.
- Tap the Pencil icon on the Profile image or the pencil on the rectangle Banner image.
- You can choose an image from the library or upload your own.
- If you choose to upload your own select from Phone or PC / Mac.
- Adjust the image and tap “Save”.
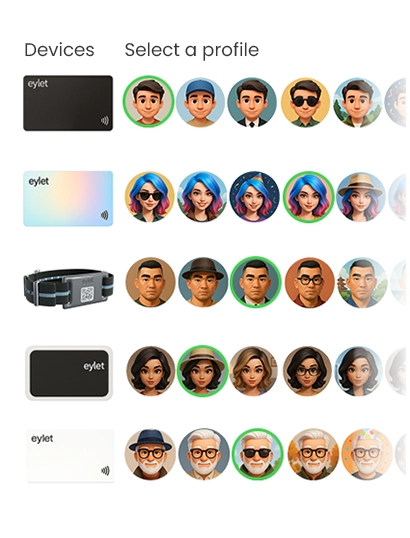
The eylet app allows up to five additional profiles, each profile is unique and can have different content images, themes and links.
Multiple profiles allow you to separate your life between work, personal, or for a specific event.
- Tap the Round Profile icon in the bottom right corner of the app, on the menu bar.
- This shows you a popup with two sections, the top part is Quick Switch which allows you to decide which profile your physical cards are attached to on tapping.
- The bottom section is where you add a new profile and switch profiles.
- Tap the [+] icon to add a profile.
- Tap an existing profile to switch to that profile.
Quick Switch is a unique feature to eylet. Many people use multiple profiles separating work and personal details.
However they may only have one physical card or eylet device such as a card, wristband or phone card.
Using the quick switch you can determine which one of your profiles is loaded when you tap or scan your physical device.
You can change on the fly and show a different profile using the single NFC device and then switch back later.
If you have multiple devices attached you can set which device loads which profile.
The eylet app is versatile and has many features, the primary one being a digital business card.
Google cards is a feature that is accessed via the Main Menu in the top Left Corner.
- Tap on the Main Menu (top left corner).
- Tap on “Google Review Products”.
- Tap on “Add a Google Review Device”.
- Scan the QR code on the physical Google product.
- Enter in your business name and full address, keep typing until it shows in the drop down menu.
- Select your business from the list.
- Check on the Mini Map the location is correct and tap Save.
The list is automatically populated by Google, if your business is not showing on the list then check that your business address is fully verified in your Google My Business Account.
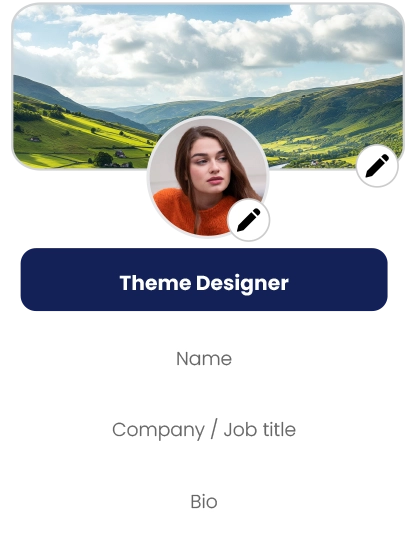
You type your name in the Name field located under the Theme Designer button.
After typing, the data is automatically saved. You can tap on the field under it to enter your Company Name or Bio about yourself.
You can attach multiple NFC devices to your account, they all follow the same process.
- Tap on the Menu button located in the top left corner.
- Tap on “Attach and eylet Device”.
- Choose your device from the popup.
- Follow the on screen prompts to attach the device using the QR code on the device.
Detach an eylet device from the setting page.
- Tap on the Main Menu in the top left hand corner.
- Tap on “Settings”.
- Tap on the device you wish to detach.
Tapping on an iPhone is always at the top back near the cameras.
Apple iPhone’s have always placed the NFC reader in the same place where you tap to Pay using Apple pay.
Adding links and content like video and gallery images can be accessed via the “Add Content and Links” button located on the Main App Home page.
To get to the Home page tap the ‘Home” button on the bottom menu bar.
Scroll down a little to see an icon labeled “Add Content and Links”.
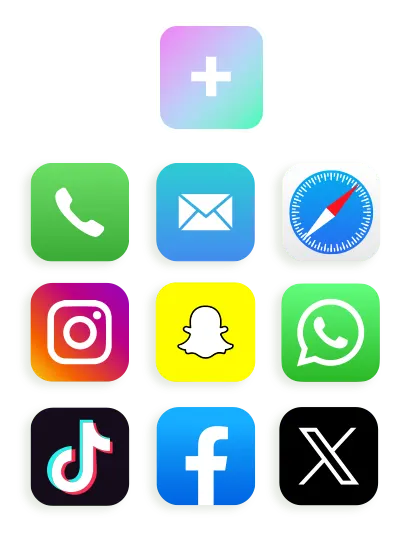
On tapping this icon you will see a page with over 65 social network links including custom links, email, phone, pdf and image gallery.
Tap an icon to enter in the link and then tap save.
Many Android phones now come with NFC enabled primarily for the use of Google Pay services.
If your NFC is not enabled out of the factory. go into Settings and Search for NFC, Near Field Communications and Wifi.
For all phones it's always the bottom back of the phone near the charging port.
If you find your phone keeps popping up the card notification then it's being picked up by the phone's NFC reader, repositioning the card further away will stop this.
Change the order of links by using drag and drop, select a link and move it to the new position. Changes are saved automatically.
Testing is important and to do it effectively is to view your card profile as a visitor would.
On the Home page of the App scroll down to a button that says “Tap here to check your changes”.
Tapping the button copies your profile link to the clipboard. Open your web browser and paste the link.
This mimics an actual visitor when you share your digital card profile with them.
Tap your links and check that all are working.
Adding an image gallery is done via the “Add Content and Links” button on the main home page of the App.
- Tap the “Add Content and Links” button.
- Tap on the Image Gallery icon.
- Tap a Free square to upload an image.
- Crop and “Save” each image.
Adding a video is done via the “Add Content and Links” button on the main home page of the App.
Get your video share link from Youtube or Vimeo.
- Tap the “Add Content and Links” button.
- Tap on Youtube or Vimeo.
- Paste your video link.
- Tap on “Save”.
Tap the second button on the bottom menu bar that looks like a QR code.
You can customise the QR code and download it from the same popup.
Using the QR code button which is the second button on the bottom Menu Bar, tap the “Contact Card” label on the top of the popup.
This will show a vCard of your contact profile. When scanned it will automatically load the contacts app on your visitors phone. No internet connection is required.
This is the raw vCard of your digital profile.
When sharing your digital profile visitors will see two buttons at the top of the page.
The one labeled “Save” is used and will download the vCard data for your digital profile to your visitors phonebook.
When sharing your digital profile visitors will see two buttons at the top of the page the one labeled “Exchange Contact” is used and will popup a contact exchange form.
All completed forms are viewable on your app in the Contacts page access via the bottom menu bar.
This is where you view all the visitors who have sent their details via the Exchange contact form on your digital profile.
You can edit, export them to an Excel file and save them to your local phonebook.
Theme Builder
Choose from over 20 predefined themes, customise and design your own.

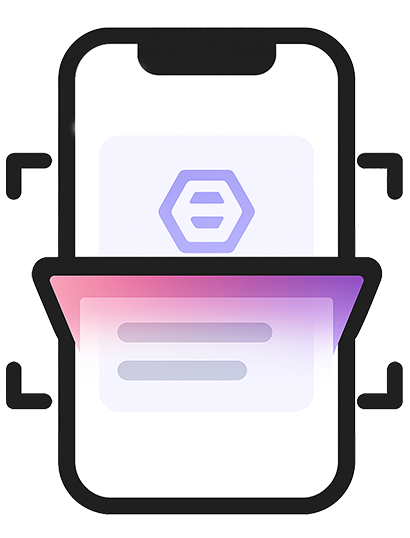
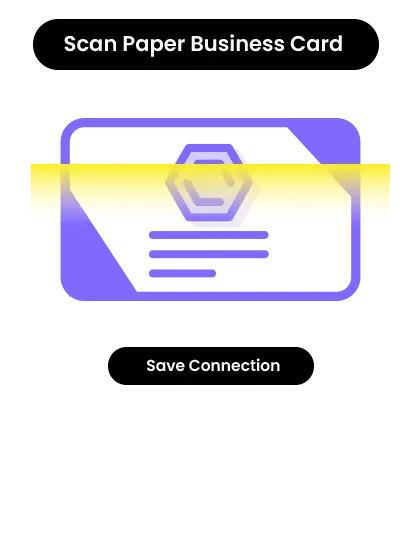
AI Card Scanner
Scan paper business cards in 60+ languages with AI assistance.
Multiple Profiles
Share instantly via NFC taps, compatible with most smartphones.
Quick Switch
Instantly change which profile is shared when you tap your eylet device.
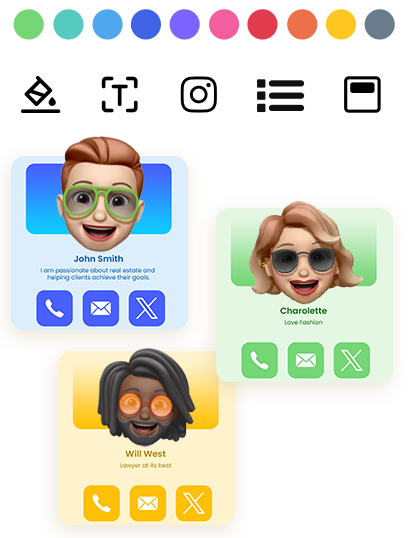
Profile Editor
Personalize your profile with your banner image and profile picture, also add details.
Add your links
Embed Video, Google Review Link, Facebook, Instagram, PDF, Images, custom links and over 65 other social network links.
Customise QR Code
Save your QR code, customise it and share it.

Card Scanner
It's easy to scan paper cards and save as contacts, with eylet AI business card scanner.
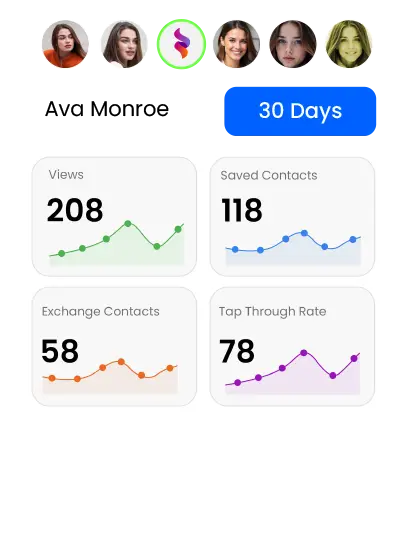
Advanced Analytics
Comprehensive visual data on your views, clicks, save to phonebook and exchanges.
Contacts
Manage and export contacts in one place, and add details to existing contacts.
⇠ Swipe to Explore ⇢