How to Set Up an NFC Business Card: Step-by-Step Guide
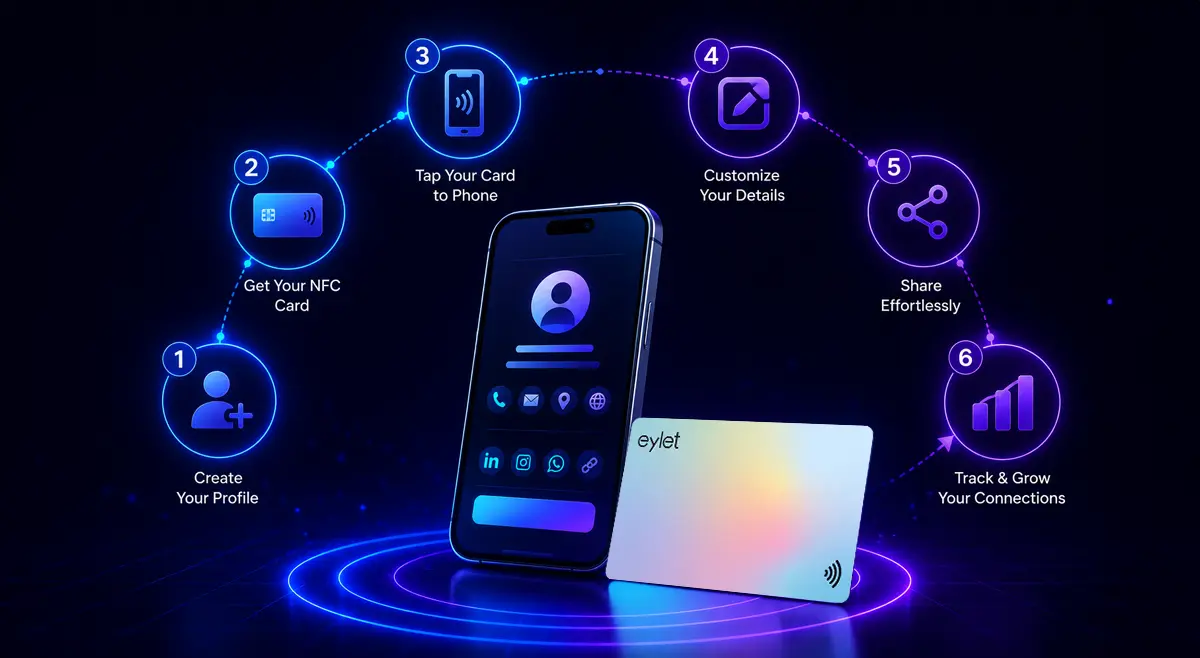
Setting up an eylet NFC business card takes about 5 minutes. You create a free account, fill in your profile, scan the QR code on the back of your card to link it, and you're done — no app needed, no technical skills required, and your profile can be updated any time without touching the card.
If you just received your eylet NFC business card or you're about to order one, this guide walks you through every step from unboxing to your first tap. The whole process is web-based — nothing to install, nothing to configure on the card itself. Unlike most generic guides on how to create an NFC business card (which involve downloading NFC Tools, writing chip data, and programming URLs manually), eylet works differently: the chip is already pre-programmed. You just scan a QR code to activate it. That's what makes it beginner-friendly.
▶ PREFER WATCHING OVER READING?
The eylet getting-started page walks you through the full setup with a step-by-step video. Go to the getting-started page →
What You Need Before You Start
Before jumping into setup, make sure you have:
• Your eylet NFC card (physical card)
• A smartphone or computer with a browser
• Your email address
• A 6-digit PIN you'll remember (this is your account password)
That's it. No credit card, no subscription, no app download. The eylet platform is entirely free to use — you only pay once for the physical card.
Step 1: Create Your Free Account
Go to eylet.com/login and tap Sign Up. Enter your email address and choose a 6-digit PIN — this PIN is your account password, so pick something you'll remember. Tap Sign Up to confirm and your account is created instantly. You can also follow along with the official eylet getting-started guide which includes a video of each step.
💡 GOOD TO KNOW
Your 6-digit PIN is your account login password — it's how you sign back into eylet later. The Privacy Wall PIN is a separate 4-digit PIN you set independently if you want to protect your card from being viewed without permission. The two are not connected.
Step 2: Add Your Name, Bio and Photo
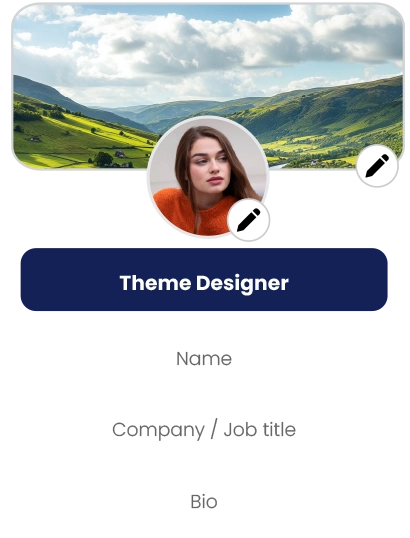
Once logged in, you'll land on your profile page. Add your name and a short bio — this is what people see when they tap your card. To add a photo, tap the pencil icon on the profile image. You can choose from eylet's avatar library or upload your own photo.
💡 GOOD TO KNOW
You can also add a banner image behind your profile photo — useful if you want your card to match your brand colours or include a company logo strip. Both profile photo and banner can be changed any time.
Step 3: Add Your Contact Details and Social Links
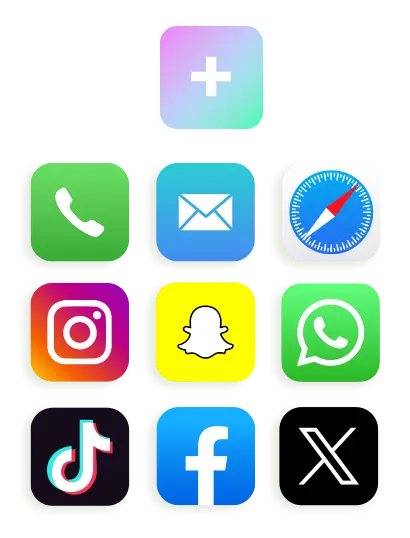
Tap the Add Profile Content button to start adding your links. eylet supports over 65 content types — phone numbers, email addresses, websites, and social networks including Instagram, LinkedIn, WhatsApp, Facebook, X (formerly Twitter), TikTok, and many more. You can also add PDF documents, embedded YouTube or Vimeo videos, image galleries, and custom website links.
QUICK SETUP — MINIMUM RECOMMENDED LINKS
• Phone number
• Email address
• LinkedIn or primary social profile
• Website (if you have one)
Each link gets its own icon on your profile so recipients can tap exactly what they need — call you, email you, or follow you on Instagram — without hunting through a wall of text. Add as many or as few as you want; you can always come back and add more later.
Step 4: Activate Your NFC Card (Attach It to Your Profile)
This is the step that activates your NFC card by linking the physical card to your digital profile. It's a one-time process and takes about 30 seconds — no NFC reader or chip-writing app needed.
1. Open the menu (top left of your eylet dashboard)
2. Tap Attach eylet device
3. Choose eylet device from the list
4. Tap Attach device using QR code
5. Allow camera access and scan the QR code printed on the back of your card
6. Done — your card is now connected to your profile
💡 GOOD TO KNOW
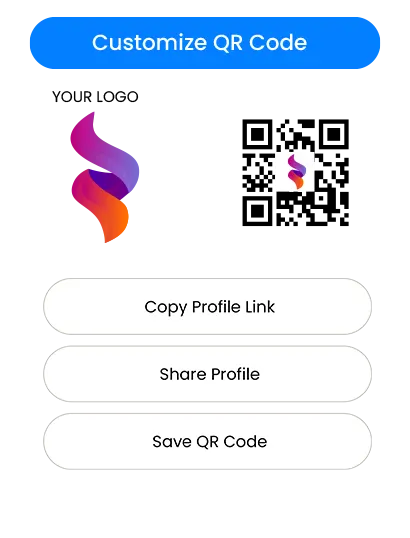
Your eylet card has one QR code on the back. This is the same QR code people use to view your profile after setup — you just need to scan it once during this activation step to link the card to your account. After that it works immediately for sharing.
Step 5: Test Your Card
Hold your eylet card near the top back of a smartphone — that's where the NFC reader sits on most iPhones and Android phones, close to the camera. Your profile should open automatically in the phone's browser within a second. No app needed on either end.
✓ WHAT A SUCCESSFUL TAP LOOKS LIKE
• A notification pops up on the recipient's phone
• They tap the notification and your profile opens in their browser
• They can tap your phone number to call, email to send a message, or save your contact directly to their phonebook
• No app download required on their end
✗ IF THE TAP DOESN'T WORK
• Try moving the card slowly around the top-back area of the phone
• Remove any thick phone case that might be blocking the signal
• Check that NFC is enabled in the phone's settings (Android only — on iPhone it's always on)
• Use the QR code on the front of the card as a fallback for any phone
Optional: Enable the Privacy Wall
The Privacy Wall is a 4-digit PIN that protects your profile from being viewed without your permission — useful if you're in a situation where strangers might accidentally tap your card, or if you want control over who can see your details.
To enable it: scroll down to the links section of your profile and look for the row of five buttons — the first one is Privacy Wall. Tap it to set your PIN. When Privacy Wall is active, anyone who taps your card is shown a PIN entry screen before your information appears. If the button is red, the Privacy Wall is currently disabled.
Optional: Customise Your Theme
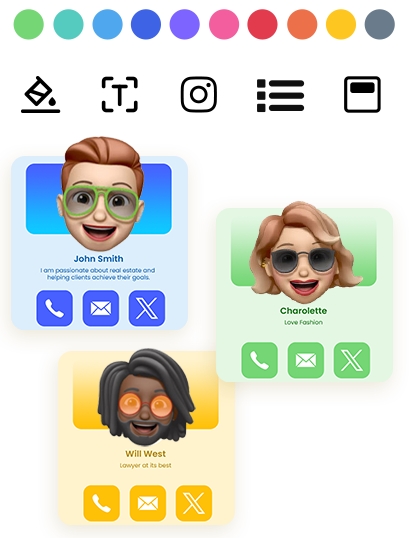
eylet includes over 20 pre-built profile themes and a full theme designer where you can create your own to match your brand colours. If you're setting up quickly, the default theme works fine — you can always come back and change it later without affecting the card itself.
What Happens When You Update Your Profile?
Any changes you make to your eylet profile — new phone number, new job title, new social links — update instantly. The card doesn't need to be re-linked, reprinted, or replaced. The physical card is just a trigger; all the information lives on your profile, and the profile updates in real time. This is the core reason NFC cards work better than paper ones for anyone whose details change regularly.
What Can You Do With Your eylet Card?
Once your card is set up, you're not limited to just sharing a phone number. eylet profiles support over 65 content types — here's what you can do:
👤 Multiple Profiles
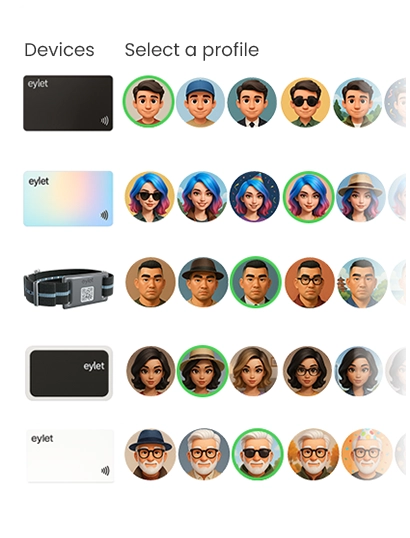
Switch between up to 5 profiles from one card — personal, business, freelance, whatever you need.
📋 Lead Capture Mode
Collect visitor contact details automatically — no manual note-taking at events.
📊 Analytics
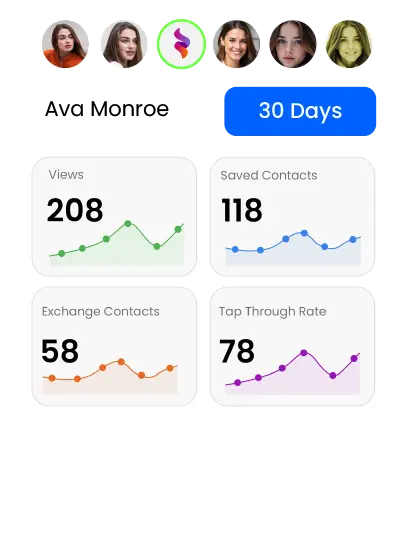
See who viewed your card, where, and when — tap counts, saves, and link clicks all tracked.
🎨 20+ Themes
Customise your profile to match your brand — choose a preset theme or build your own in the designer.
⭐ Google Review Link
Send people directly to leave you a Google review with a single tap — no searching required.
Frequently Asked Questions
Do I need an app to set up an NFC business card?
No. eylet is fully web-based. You set up your profile at eylet.com — no app download required for you or the person receiving your card.
How long does it take to set up an NFC business card?
About 5 minutes to go from account creation to your first tap. Adding extra social links or customising your theme takes a little longer but is entirely optional.
How do I attach my NFC card to my eylet profile?
Open the eylet menu, tap Attach eylet device, choose eylet device, then tap Attach device using QR code and scan the QR code printed on the back of your card.
Where do I tap the NFC card on a phone?
Hold your eylet card near the top back of the recipient's phone, close to the camera. On most iPhones and Android phones the NFC reader is located in that area.
What is the Privacy Wall on eylet?
The Privacy Wall is a 4-digit PIN that protects your profile from online scanners and accidental NFC taps. When enabled, anyone tapping your card must enter the PIN before your information is shown. You can turn it on or off at any time.
Can I update my profile after setting up the card?
Yes. Any changes to your eylet profile update instantly — no reprinting or re-linking needed. The card itself never changes; only your profile does.
Ready to Set Up Your NFC Card?
Get your eylet NFC business card, create your free profile in 5 minutes, and share everything with a single tap.